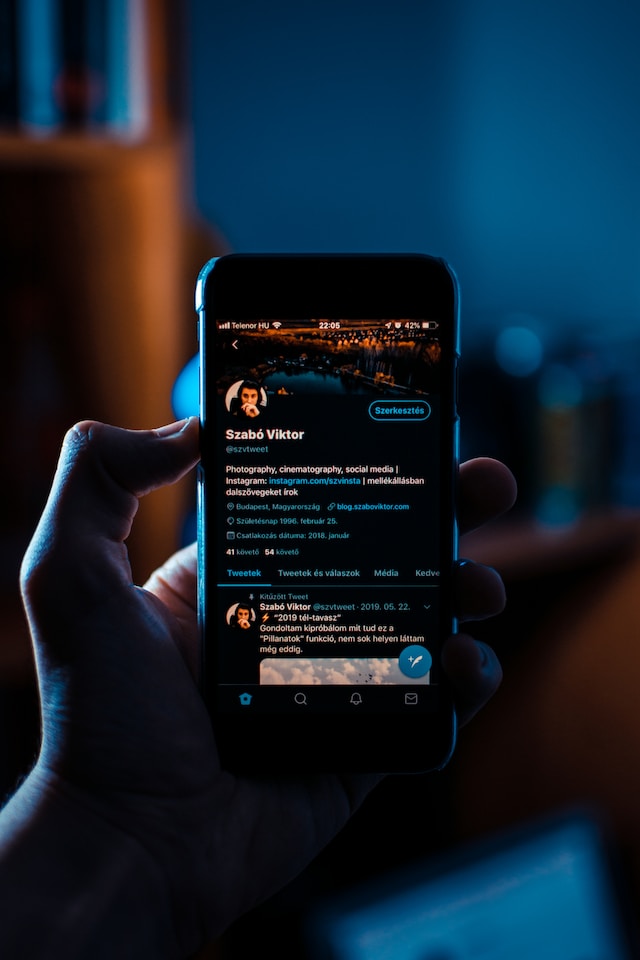
The Twitter, now X notifications timeline provides a quick overview of your interactions with other users on the platform. The timeline contains alerts about activities on your posts and profile. However, their numbers can become overwhelming at some point. In this situation, you need to clear Twitter notifications to reduce them.
Clearing your X notifications can also help you identify irrelevant ones. This article explores the various ways to reduce some or all of your account notifications. Read to the end to learn how to achieve it effortlessly.
How To Clear Twitter Notifications
Sorting your X notifications is stressful if you have too many. In this case, the best solution is to delete all or some of them. Learning how to clear Twitter notifications could help you achieve this quickly. Unfortunately, there is no default button to delete notifications from the platform.
However, several tricks exist to clear your notifications from various devices. You have the option to receive three types of notifications on the platform. These include:
- Push notifications on the X platform
- Email notifications on your registered email
- SMS notifications on your registered phone number
One easy solution is to clear messages from the platform on your email address or phone number. You can also filter the types of alerts you want to see on the default notifications tab. The platform allows you to sort out your notifications according to your preferences.
This may not be the perfect solution, but it will give you the peace of mind you want. Adjusting your notification settings lets you decide how the platform will notify you. It also allows you to choose what activities the system will notify you about. Luckily, you can make these adjustments on various devices and this will then reflect on your accounts’ notifications tab.
How To Delete Your X Notifications
X sends various types of notifications to its users. So, clearing them will require going through various channels. We’ve highlighted the different ways to delete each type of X notification.
How To Delete Your Email Notifications on Your Email Client
You can access your inbox to clear notification messages on your email client. Even though several email providers exist, we’ll use Gmail as an example in this section.
Here’s how to delete Twitter email notifications from your Gmail account:
- Open the Gmail mobile app on your smartphone or go to the email client on a web browser.
- Select the search bar at the top and enter the following command from:Twitter. This will show results for your Twitter notifications.
- Press and hold one of the messages to select it on the mobile app version.
- Scroll down to tap the Select All checkbox to choose multiple messages. On the browser version, click the checkbox at the top-left corner. The system will select 50 messages.
- Click Select All Conversations That Match This Search at the top.
- Select the Trash Can icon at the top-left side to delete selected messages.
- Confirm your decision in the prompt that appears.
You’ve automatically deleted all your X email notifications on Gmail. You will follow similar steps in Outlook and Yahoo Mail.
Alternatively, you can use a free email cleaning web and mobile application like Cleanfox. This must-have app will allow you to clear your email in bulk quickly.
How To Delete Your SMS Notifications
If you’ve enabled your phone number to receive X SMS notifications, you must have noticed the overwhelming number of notifications you have been receiving. Well, clearing these notifications should be easy if you frequently delete your SMS inbox messages.
If not, you can delete the notifications by going to your iOS or Android device’s messaging app.
All you have to do is identify and select inbox messages from X, aka Twitter. Once selected, press the Delete button on the app. That’s it! You’ve successfully deleted your notifications from the platform.
How To Filter X Notifications
Filtering your X notification doesn’t clear them, but it will help you sort through the multitude of alerts in the future. The advanced filters allow you to decide what activities you want notifications for. These notification settings will reflect on your email, SMS, and Push notifications.
To filter X notifications, just follow these steps:
- Log into your account on the X mobile app or website.
- Tap the Profile Icon at the top-left corner of the app. Then, select Settings and Support to see a drop-down menu.
- Choose Settings and Privacy, then Notifications.
- Click the Notifications tab on the left sidebar of the desktop.
- Click the Gear icon at the top-right corner to go to the notifications settings.
- Choose Filters on both versions.
- Select Muted Notifications.
- To mute notifications from people, select the checkboxes before each provided option. These options will help you choose the types of accounts you want.
- Return to the Filters and enable the Quality Filter option to mute specific words from your notifications and timeline. The checkboxes will turn blue once you enable these filter options.
Twitter Notifications Not Working? Try These Easy Fixes
You can’t clear notifications on Twitter if the function isn’t working. Your notification function may not work for various reasons. However, there are easy ways to fix this situation. Let’s look at the solutions for Twitter notifications not working.
1. Enable X Account Notifications
Turning off your X account notifications won’t allow the function to work. This setting completely disables them, so you don’t have to receive alerts. You need to go to your notification settings to enable the various types of notifications.
Here’s how to enable Twitter notifications in four easy steps:
- Go to the Notification Settings page on your account.
- Select the Preferences option. This will take you to the page where you can enable SMS, email, and push notifications.
- Select each notification option.
- To enable each, select the Toggle button at the top-right corner. The button will turn blue.
After this, you’ll start receiving notifications for your X account activities. It would be helpful to also uncheck the filter options to allow various activity alerts.
2. Enable Device Notifications
Twitter won’t show any alerts if you turn off your device’s notifications for the social media app. It’s best to turn on notifications for the app on your iOS and Android devices.
You can enable your device’s notifications by following these four simple steps:
- Long press the X app icon on your Android device and select App Info.
- Go to the Settings app on your iOS device and select X in the Apps section.
- Select Notifications on both devices.
- Tap Allow Notifications to enable alerts from your X mobile app.
After this, you should start receiving notifications. However, this solution may not work if the device’s Do Not Disturb mode is on. Turn off this mode on your devices to receive notifications.

Twitter Notification Won’t Go Away: 4 Causes and Easy Solutions
Sometimes, the Twitter notification indicator keeps showing the symbol for unread notifications. This can be bothersome, especially after you just took action to clear notifications on Twitter. But don’t worry; there are easy ways to fix the issue if a Twitter notification won’t go away. We explore the reasons and solutions for this below.
1. A Hidden Unread Message in Direct Messages
The platform’s notification icon indicates that you have an unchecked notification or unread direct message. Typically, direct messages are in chronological order from the newest to the oldest. Thus, it is possible to view the messages at the top and overlook those at the bottom.
In this case, checking the direct messages tab and scrolling down the list is best. Once you’ve found the unread messages, open each one to view it. This will remove the message notifications from your account.
2. Message Requests From Non-Followers
A user who isn’t your Twitter follower can’t directly message you on the platform. Instead, the system classifies their messages as a request to you. This request will only enter the messages tab after you decline or accept it. Hence, the message request section is separate from the active message section.
To see these messages, go to the X direct messages tab and select Message Requests at the top. You can then accept or decline your request.
3. Server Is Down
Sometimes, the social media app or website may have glitches that stop Twitter from working. These glitches may prevent you from dismissing notifications even though you’ve read them. In most cases, glitches are due to temporary problems with the platform’s servers.
This could also happen during the platform update process. However, the notifications should disappear when the servers begin functioning normally or after the update.
Another solution to X notifications not going away is to sign in on another device. This will help your devices to connect and notify them that there are no unread notifications.
4. Viral Posts
If your X repost or post has gone viral, you’ll get more notifications when people engage. While this is healthy for your Twitter engagement rate, insensitive or controversial posts may attract unwanted attention. Your notifications timeline will be overwhelmed due to this.
You can delete your post to correct your mistakes and clear Twitter notifications from this activity. However, the default delete feature doesn’t remove multiple posts simultaneously. But don’t worry; TweetEraser has the perfect web-based tool to get you out of this dilemma.
With TweetEraser’s bulk tweet-deleting app, you can create a clean slate for your profile. Our tool uploads your X archive to filter and delete unwanted posts in bulk. You can also activate the auto-delete feature to avoid similar problems in the future. So, start filtering and cleaning your X timeline today with TweetEraser.

